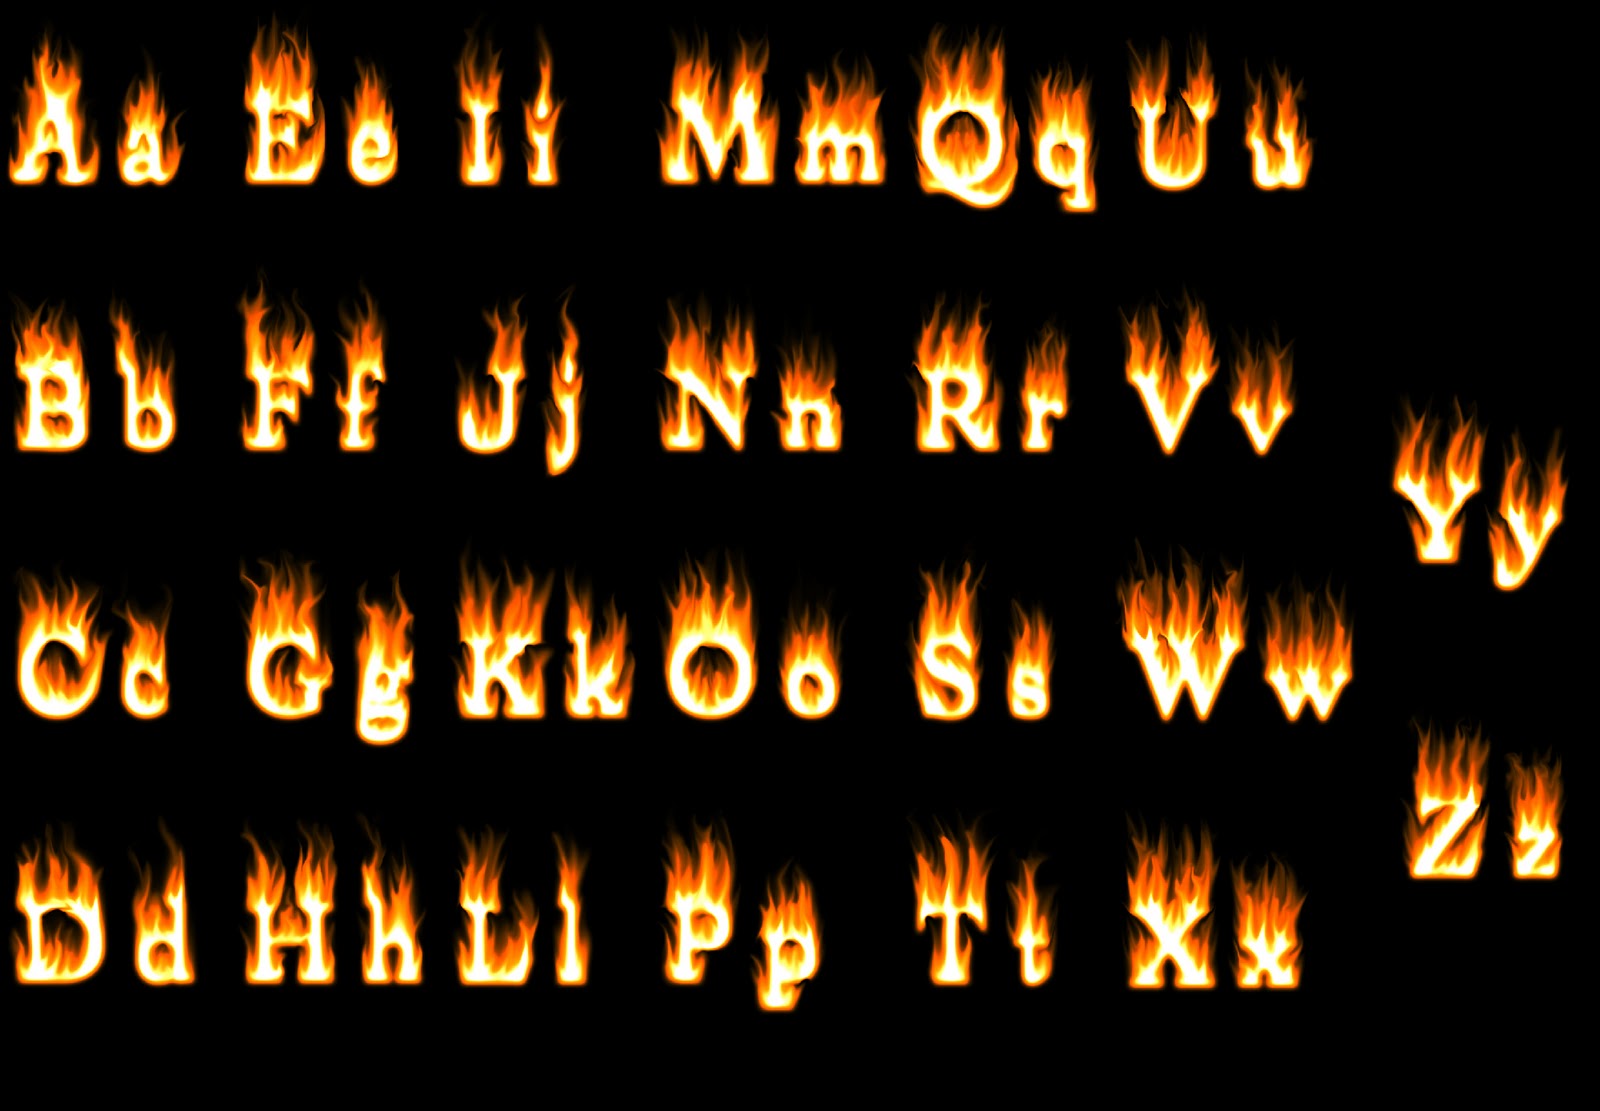
Creating realistic flames on paper might seem challenging, but with the right techniques and tools, anyone can master how to draw a flame. Flames are dynamic and fluid, making them both intriguing and complex to replicate. Whether you're an aspiring artist looking to add depth to your sketches or simply someone who enjoys doodling, learning to draw flames can elevate your artistic skills. This article will guide you through the process, offering step-by-step instructions and tips to help you create stunning flames that capture their essence and movement.
Flames have fascinated humanity for centuries, symbolizing warmth, energy, and transformation. Artists often incorporate flames into their work to convey emotion, intensity, or power. However, drawing flames requires more than just random scribbles; it involves understanding the anatomy of fire, its colors, and how it interacts with its surroundings. By breaking down the process into manageable steps, you'll discover that how to draw a flame is not as intimidating as it seems. With practice and patience, you can create flames that look natural and captivating.
This guide will walk you through the fundamentals of drawing flames, from understanding their structure to adding finishing touches. We'll explore various techniques, tools, and tips to help you achieve realistic results. Whether you're using pencils, markers, or digital software, the principles remain the same. So grab your materials, and let's dive into the world of flames and unleash your creativity!
Read also:Why A Ski Town Chicken Joint Could Be The Perfect Pit Stop For Adventure Seekers
Table of Contents
- What Are the Basics of How to Draw a Flame?
- How Can You Choose the Right Tools for Drawing Flames?
- Understanding the Anatomy of a Flame
- Step-by-Step Guide: How to Draw a Flame
- Tips and Tricks for Adding Realism
- Why Is Texture Important When Drawing Flames?
- Exploring Different Styles of Flames
- How to Draw a Flame Digitally
- FAQs
- Conclusion
What Are the Basics of How to Draw a Flame?
Before diving into the specifics of how to draw a flame, it's essential to grasp the basics. Flames are composed of three primary parts: the base, the body, and the tip. The base is the area where the flame connects to its source, such as a candle or firewood. It is usually the darkest part of the flame. The body represents the main portion of the flame, characterized by its vibrant orange and yellow hues. Finally, the tip is the uppermost part, often depicted in lighter shades of yellow or white, as it burns more intensely.
Understanding these components is crucial for creating realistic flames. Each part plays a significant role in conveying the flame's movement and intensity. Additionally, flames are not static; they constantly shift and change shape, which adds to their complexity. To capture this dynamic nature, artists must pay attention to the flame's flow and curvature. By mastering the basics, you'll lay a solid foundation for advancing your skills in drawing flames.
Another fundamental aspect to consider is the color palette. Flames typically consist of warm tones, including red, orange, yellow, and white. These colors blend seamlessly to create the illusion of heat and energy. When drawing flames, it's important to layer these colors strategically to achieve depth and dimension. Experimenting with shading techniques can further enhance the realism of your flames, making them appear more lifelike.
How Can You Choose the Right Tools for Drawing Flames?
Selecting the appropriate tools is vital for achieving the desired results when learning how to draw a flame. Depending on your preference, you can use traditional media such as pencils, colored pencils, markers, or pastels, or opt for digital tools like tablets and graphic software. Each medium has its advantages and limitations, so it's important to choose one that suits your style and comfort level.
For beginners, graphite pencils are an excellent starting point. They allow for precise lines and shading, making it easier to control the intensity and shape of the flame. Colored pencils offer the advantage of blending colors directly on the paper, enabling you to create smooth transitions between hues. Markers, on the other hand, provide bold and vibrant colors, ideal for creating striking flame effects. Pastels are perfect for achieving soft, textured flames, as they can be easily blended and layered.
When working digitally, tools like Adobe Illustrator, Procreate, or CorelDRAW provide endless possibilities for creating realistic flames. These programs offer a wide range of brushes, colors, and effects that can mimic traditional media while offering additional flexibility. Regardless of the tools you choose, practice is key to mastering how to draw a flame effectively.
Read also:Unpacking The Phenomenon What You Need To Know About Tornado Warning San Diego
What Materials Are Essential for Drawing Flames?
In addition to selecting the right tools, having the necessary materials is equally important. For traditional drawing, you'll need a variety of pencils (ranging from 2H to 6B), erasers, blending stumps, and high-quality paper. If you're using colored pencils, consider investing in a set that includes a broad spectrum of warm tones. For markers, alcohol-based options are preferable due to their ability to blend seamlessly.
Digital artists should ensure their tablets have pressure sensitivity, allowing for varied line thickness and opacity. A reliable stylus with a comfortable grip is also crucial for maintaining precision and control. Additionally, familiarizing yourself with the software's features and shortcuts can significantly enhance your workflow and productivity. By equipping yourself with the right materials, you'll be better prepared to tackle the challenges of drawing flames.
Understanding the Anatomy of a Flame
To truly master how to draw a flame, it's essential to understand its anatomy. Flames are not uniform; they vary in shape, size, and intensity depending on the fuel source and environmental conditions. By studying the different types of flames, you can gain insights into their characteristics and behaviors, enabling you to replicate them accurately.
Flames can be classified into three main categories: laminar, turbulent, and combustion flames. Laminar flames are smooth and steady, often seen in candles or gas stoves. Turbulent flames, on the other hand, are chaotic and unpredictable, typical of wildfires or bonfires. Combustion flames result from the rapid oxidation of fuel, producing intense heat and light. Each type requires a distinct approach when drawing, as their shapes and colors differ significantly.
Furthermore, flames exhibit unique patterns and textures that contribute to their realism. Observing real-life flames can help you identify these nuances and incorporate them into your artwork. Pay attention to the way flames flicker, curl, and merge with their surroundings. By understanding the anatomy of a flame, you'll be better equipped to capture its essence and convey its dynamic nature.
Key Features of Flames
- Base: The darkest part, connecting to the fuel source.
- Body: The main portion, characterized by warm tones.
- Tip: The lightest area, representing intense heat.
- Flow: The movement and curvature of the flame.
Step-by-Step Guide: How to Draw a Flame
Now that you have a solid understanding of the basics and anatomy of flames, let's delve into the step-by-step process of how to draw a flame. This guide will walk you through each stage, from sketching the initial outline to adding final details. By following these steps, you'll be able to create flames that look realistic and vibrant.
Step 1: Begin with a light sketch of the flame's general shape. Use a pencil to outline the base, body, and tip, ensuring they flow smoothly into one another. Don't worry about perfection at this stage; the goal is to establish the flame's structure.
Step 2: Add details to the flame's body. Focus on creating curves and swirls that mimic the natural movement of fire. Use short, fluid strokes to emphasize the flame's dynamic nature. Gradually build up the layers, paying attention to the transitions between colors.
Step 3: Introduce shading to enhance depth and dimension. Start with the darkest areas at the base and gradually lighten as you move upward. Blend the colors seamlessly to create a gradient effect, ensuring the flame appears cohesive.
Step 4: Highlight the flame's tip with lighter shades of yellow and white. These areas represent the hottest part of the flame, so they should be the brightest. Use a fine-tip pen or brush to add intricate details, such as sparks or wisps of smoke.
Step 5: Finalize your flame by refining the edges and adding any additional details. Consider incorporating reflections or shadows to enhance realism. Step back and evaluate your work, making any necessary adjustments to achieve the desired effect.
Tips and Tricks for Adding Realism
Creating realistic flames involves more than just following a step-by-step guide. Here are some tips and tricks to help you take your flame drawings to the next level:
- Study real-life flames to observe their behavior and characteristics.
- Experiment with different shading techniques to achieve depth and dimension.
- Use reference images to guide your proportions and color choices.
- Practice consistently to improve your skills and develop your own style.
- Don't be afraid to make mistakes; they are part of the learning process.
Realism in drawing flames also depends on your ability to convey movement and energy. Flames are never static; they dance and flicker, creating a mesmerizing effect. To capture this motion, focus on the fluidity of your lines and the transitions between colors. Additionally, consider the context in which the flame exists. For example, a candle flame will behave differently than a campfire flame, so adjust your technique accordingly.
Why Is Texture Important When Drawing Flames?
Texture plays a crucial role in how to draw a flame convincingly. Flames are inherently textured, with varying degrees of smoothness and roughness depending on their intensity and environment. Incorporating texture into your drawings can enhance their realism and make them more visually appealing.
One way to add texture is by using cross-hatching or stippling techniques. These methods involve layering lines or dots to create a sense of depth and complexity. Another approach is to experiment with different brush strokes if you're working digitally. By varying the pressure and opacity, you can achieve a range of textures that mimic the natural appearance of flames.
Texture also extends to the surrounding elements of the flame. Consider how the flame interacts with its environment, such as casting shadows or reflecting off surfaces. By paying attention to these details, you'll create a more immersive and believable scene.
Exploring Different Styles of Flames
Flames come in countless styles and variations, each with its own unique appeal. From gentle candle flames to roaring infernos, the possibilities are endless. Exploring different styles can expand your repertoire and inspire new ideas for your artwork.
One popular style is the ethereal flame, characterized by its soft, flowing lines and pastel color palette. This style often incorporates elements of fantasy or mysticism, making it ideal for whimsical or dreamlike compositions. Another style is the industrial flame, which emphasizes strength and power through bold, angular lines and intense colors. This style is perfect for depicting scenes of destruction or transformation.
Cartoon flames offer a fun and playful alternative, featuring exaggerated shapes and vibrant colors. They are often used in children's illustrations or animated films. Finally, realistic flames strive to replicate the true nature of fire, capturing its raw beauty and complexity. By experimenting with these styles, you can find the one that resonates with you and reflects your artistic vision.
How to Draw a Flame Digitally
Drawing flames digitally opens up a world of possibilities, allowing you to experiment with colors, textures, and effects without the constraints of traditional media. To get started, choose a program that suits your needs and preferences. Popular options include Adobe Illustrator, Procreate, and CorelDRAW.
Begin by selecting a brush that mimics the texture of flames. Most digital programs offer a variety of brushes specifically designed for this purpose. Adjust the brush settings to achieve the desired opacity, size, and flow. Use layers to separate different elements of the flame, such as the base, body, and tip, enabling you to work on each part independently.
When coloring your flame, utilize the program's blending tools to create smooth transitions between hues. Experiment with gradients and textures to add depth and dimension. Don't hesitate to use reference images or tutorials to guide your process. With practice, you'll discover the full potential of digital drawing and how it can enhance your ability to draw flames.
FAQs
Can You Draw Flames Without Using Colors?
Yes, you can draw flames using only black and white. By focusing on shading and contrast, you can create the illusion of depth and dimension. Use cross-hatching, stippling, or other shading techniques to achieve realistic results.
Do I Need Special Pencils for Drawing Flames?
While specialized pencils can enhance your experience, they are not strictly