Photoshop is a powerhouse for creative professionals, offering endless possibilities for graphic design enthusiasts. One of the most sought-after features of Photoshop is its ability to handle custom typography with ease. Whether you're a seasoned graphic designer or a beginner exploring the world of digital art, knowing how to add a font on Photoshop is an essential skill that can elevate your projects. With the right techniques, you can transform plain text into visually stunning masterpieces. In this article, we'll explore the ins and outs of adding custom fonts to Photoshop, providing you with step-by-step instructions and expert tips to ensure success.
Custom fonts play a crucial role in creating unique designs that stand out from the crowd. They allow you to express your creativity, convey emotions, and establish a distinct brand identity. However, many users find themselves overwhelmed when trying to figure out how to add a font on Photoshop. This is where our comprehensive guide comes in handy. We'll break down the process into manageable steps, ensuring that even beginners can follow along effortlessly.
Our goal is to equip you with the knowledge and confidence to incorporate custom fonts into your Photoshop projects. By the end of this article, you'll not only know how to add a font on Photoshop but also understand the best practices for selecting, installing, and using fonts effectively. So, let's dive in and unlock the full potential of Photoshop's typography tools!
Read also:Unveiling The Iconic Allure Of Air Max 95 All Red Sneakers
Table of Contents
- 1. Why Is Custom Typography Important in Photoshop?
- 2. How to Add a Font on Photoshop: Step-by-Step Guide
- 3. What Are the Best Practices for Selecting Fonts?
- 4. Installing Fonts on Your Computer
- 5. Troubleshooting Common Issues When Adding Fonts
- 6. Can You Use Online Fonts Without Installing Them?
- 7. Enhancing Your Workflow with Font Management Tools
- 8. FAQs About Adding Fonts in Photoshop
Why Is Custom Typography Important in Photoshop?
Typography is the backbone of any design project. It influences the overall aesthetic, readability, and emotional impact of your work. In Photoshop, custom typography allows you to break free from the limitations of default fonts and explore a world of unique styles. Whether you're designing a logo, creating a social media graphic, or working on a digital poster, the right font can make all the difference.
Custom fonts help you communicate your message more effectively by aligning with your brand identity or project theme. For instance, a serif font might convey professionalism and tradition, while a sans-serif font could suggest modernity and simplicity. By learning how to add a font on Photoshop, you gain the freedom to experiment with different styles and find the perfect match for your creative vision.
Moreover, custom typography adds a personal touch to your designs, setting them apart from generic templates. It enables you to create one-of-a-kind pieces that resonate with your audience and leave a lasting impression. As you explore the possibilities of custom fonts in Photoshop, you'll discover new ways to enhance your projects and take your skills to the next level.
How to Add a Font on Photoshop: Step-by-Step Guide
Adding a font to Photoshop might seem daunting at first, but with the right approach, it's a straightforward process. Follow these steps to successfully incorporate custom fonts into your designs:
- Download Your Desired Font: Start by finding a font that suits your project. Websites like Google Fonts, Adobe Fonts, and Dafont offer a wide range of options. Once you've selected a font, download it to your computer.
- Install the Font on Your System: Before you can use the font in Photoshop, you need to install it on your operating system. For Windows, double-click the font file and select "Install." On macOS, open the font file in Font Book and click "Install Font."
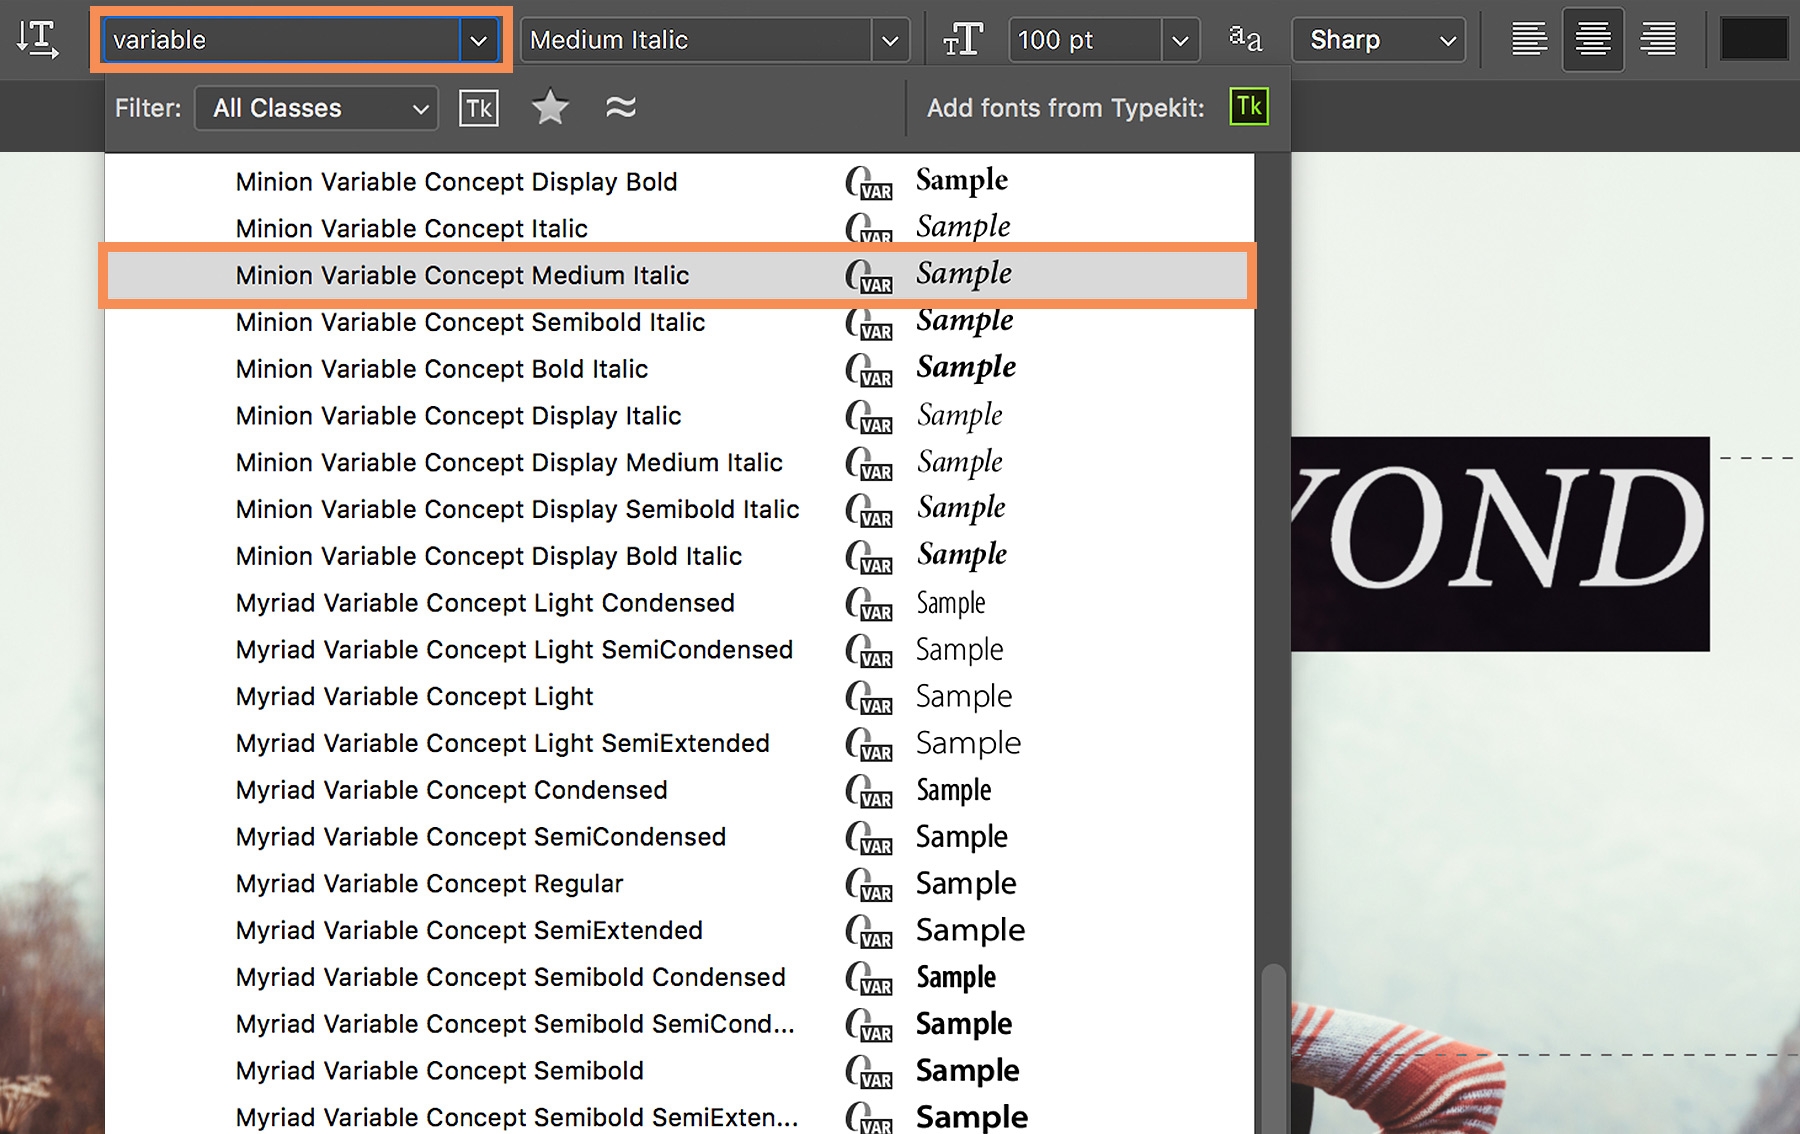
- Open Photoshop and Access the Font: Launch Photoshop and create a new document or open an existing one. Select the Type Tool (T) from the toolbar and click on your canvas to start typing. In the Options bar at the top, you'll see a dropdown menu where you can choose your newly installed font.
By following these steps, you'll have your custom font ready to use in Photoshop. Remember to save your work frequently to avoid losing any progress. As you practice, you'll become more comfortable with the process and discover new ways to incorporate custom fonts into your designs.
What Are the Best Practices for Selecting Fonts?
Selecting the right font for your project requires careful consideration of several factors. Here are some best practices to keep in mind:
Read also:Unpacking The Controversy South Parks Red Hot Catholic Love Explained
- Purpose and Audience: Consider the purpose of your design and the target audience. For example, a playful font might work well for children's products but wouldn't be suitable for a corporate presentation.
- Readability: Ensure that the font you choose is easy to read, especially if your design includes large blocks of text. Avoid overly decorative fonts for body copy to maintain clarity.
- Pairing Fonts: When using multiple fonts in a design, aim for complementary styles. A common rule of thumb is to pair a serif font with a sans-serif font for balance and contrast.
By adhering to these best practices, you'll create designs that are both visually appealing and functional. Remember, the right font choice can enhance your message and leave a lasting impression on your audience.
Installing Fonts on Your Computer
Installing fonts on your computer is a crucial step in the process of how to add a font on Photoshop. Here's a detailed guide for both Windows and macOS users:
For Windows Users:
- Locate the downloaded font file on your computer.
- Double-click the file to open it in the Font Viewer.
- Click the "Install" button located at the top of the window.
For macOS Users:
- Open the downloaded font file by double-clicking it.
- The font will open in Font Book, a built-in application for managing fonts.
- In Font Book, click "Install Font" to add the font to your system.
Once the font is installed, it will be available in all applications, including Photoshop. This ensures a seamless experience when working with custom typography.
How Can You Verify Installed Fonts?
After installing a font, it's essential to verify that it's properly recognized by your system. Here's how you can do it:
- On Windows: Open the Control Panel, navigate to "Appearance and Personalization," and select "Fonts." You should see your newly installed font in the list.
- On macOS: Open Font Book and check the "All Fonts" section. Your installed font should appear there.
Verifying installed fonts helps prevent any potential issues when using them in Photoshop or other applications.
Troubleshooting Common Issues When Adding Fonts
Despite following the correct steps, you might encounter issues when trying to add a font on Photoshop. Here are some common problems and their solutions:
- Font Not Appearing in Photoshop: Ensure that the font is correctly installed on your system. Restart Photoshop after installing the font to refresh its font library.
- Font Looks Distorted: This issue might arise if the font file is corrupted or incompatible with your system. Try downloading the font again from a reliable source.
- Too Many Fonts Overloading the System: If you have an extensive font collection, it might slow down your computer. Use font management tools to organize and deactivate unused fonts.
By addressing these issues promptly, you'll ensure a smooth workflow and avoid unnecessary frustration. Remember, troubleshooting is a natural part of the learning process, and each challenge presents an opportunity to improve your skills.
Can You Use Online Fonts Without Installing Them?
Yes, you can use online fonts in Photoshop without installing them on your system. This is particularly useful when working on collaborative projects or when you need to test a font quickly. Here's how you can achieve this:
Using Adobe Fonts: Adobe Fonts offers a cloud-based solution for accessing thousands of fonts directly within Photoshop. Simply sync the desired font from Adobe Fonts, and it will be available in your Photoshop workspace without requiring installation.
Embedding Fonts in Web Projects: If you're designing for the web, you can embed online fonts using CSS. This method allows you to use custom fonts without affecting your local system.
While these methods provide flexibility, they may not be suitable for all projects. Consider your specific needs and choose the option that best aligns with your workflow.
Enhancing Your Workflow with Font Management Tools
As your font collection grows, managing them becomes increasingly important. Font management tools help you organize, preview, and activate fonts efficiently, streamlining your workflow and reducing clutter. Here are some popular font management tools:
- Adobe Fonts Sync: A built-in feature of Creative Cloud, Adobe Fonts Sync allows you to sync and manage fonts across multiple devices seamlessly.
- FontExplorer X: A powerful font management application that offers advanced features like font activation, previews, and organization.
- Suitcase Fusion: Known for its user-friendly interface, Suitcase Fusion provides comprehensive font management capabilities and integrates well with Adobe applications.
Investing in a reliable font management tool can significantly enhance your productivity and make the process of how to add a font on Photoshop more efficient.
FAQs About Adding Fonts in Photoshop
1. Can I Use Free Fonts in Commercial Projects?
Many free fonts come with licenses that allow their use in commercial projects, but it's essential to review the specific license terms. Some fonts may require attribution or prohibit commercial use altogether. Always verify the font's licensing agreement to ensure compliance.
2. How Do I Remove Unused Fonts from Photoshop?
To remove unused fonts, you can use font management tools like FontExplorer X or Suitcase Fusion. These tools allow you to deactivate or delete fonts that you no longer need, freeing up system resources and keeping your font library organized.
Conclusion
Learning how to add a font on Photoshop opens up a world of creative possibilities for your design projects. By following the steps outlined in this article and adhering to best practices, you'll be able to incorporate custom fonts seamlessly into your work. Remember, practice makes perfect, so don't hesitate to experiment with different fonts and styles. With dedication and persistence, you'll master the art of typography in Photoshop and take your designs to new heights.
Mastering Typography: A Comprehensive Guide on How to Add a Font on Photoshop | Unlock your creative potential with step-by-step instructions and expert tips.