Installing corner bead on drywall is a crucial step in achieving professional-looking walls and ceilings. Whether you're a DIY enthusiast or a professional contractor, understanding the intricacies of this process can significantly enhance your project's quality and durability. Corner bead installation not only protects the edges of your walls but also adds a polished finish that can elevate the aesthetics of any space. With the right tools, techniques, and a bit of patience, you can transform your walls into something truly remarkable.
Corner bead installation might seem intimidating at first, but with the right guidance, it becomes an achievable task. This guide will walk you through every step of the process, from selecting the appropriate materials to troubleshooting common issues. By the end, you'll have the confidence and expertise to tackle any drywall project with ease. Whether you're renovating your home or building from scratch, mastering this skill will save you time, money, and frustration in the long run.
Optimizing your knowledge of installing corner bead on drywall also ensures that your projects meet industry standards and last for years to come. Properly installed corner beads provide structural support and prevent damage to wall corners, making them essential for both residential and commercial spaces. Let’s dive into the details and uncover everything you need to know to become a pro at this essential construction technique.
Read also:Explore The Ultimate Playlist Best Songs About Love On Youtube In 2023
Why Is Installing Corner Bead on Drywall Important?
Installing corner bead on drywall serves multiple purposes that go beyond mere aesthetics. First and foremost, it protects the vulnerable edges of your walls from chips, dents, and other forms of damage. Corners are the most susceptible areas in any room, and without proper reinforcement, they can quickly deteriorate under regular wear and tear. Corner beads act as a shield, ensuring that your walls maintain their integrity over time.
In addition to protection, corner beads contribute to the overall appearance of your space. They create clean, crisp lines that give walls a polished, professional look. This is particularly important in areas where visual appeal matters, such as living rooms, bedrooms, and offices. Furthermore, corner beads facilitate easier application of joint compound, allowing for smoother finishes and reducing the likelihood of uneven surfaces.
Another benefit of installing corner bead on drywall is its role in soundproofing. The added layer of material helps reduce noise transfer between rooms, creating a quieter and more comfortable environment. For those working on sound-sensitive projects like home theaters or recording studios, this feature is especially valuable. Overall, incorporating corner beads into your drywall projects enhances both functionality and design.
What Are the Different Types of Corner Beads Available?
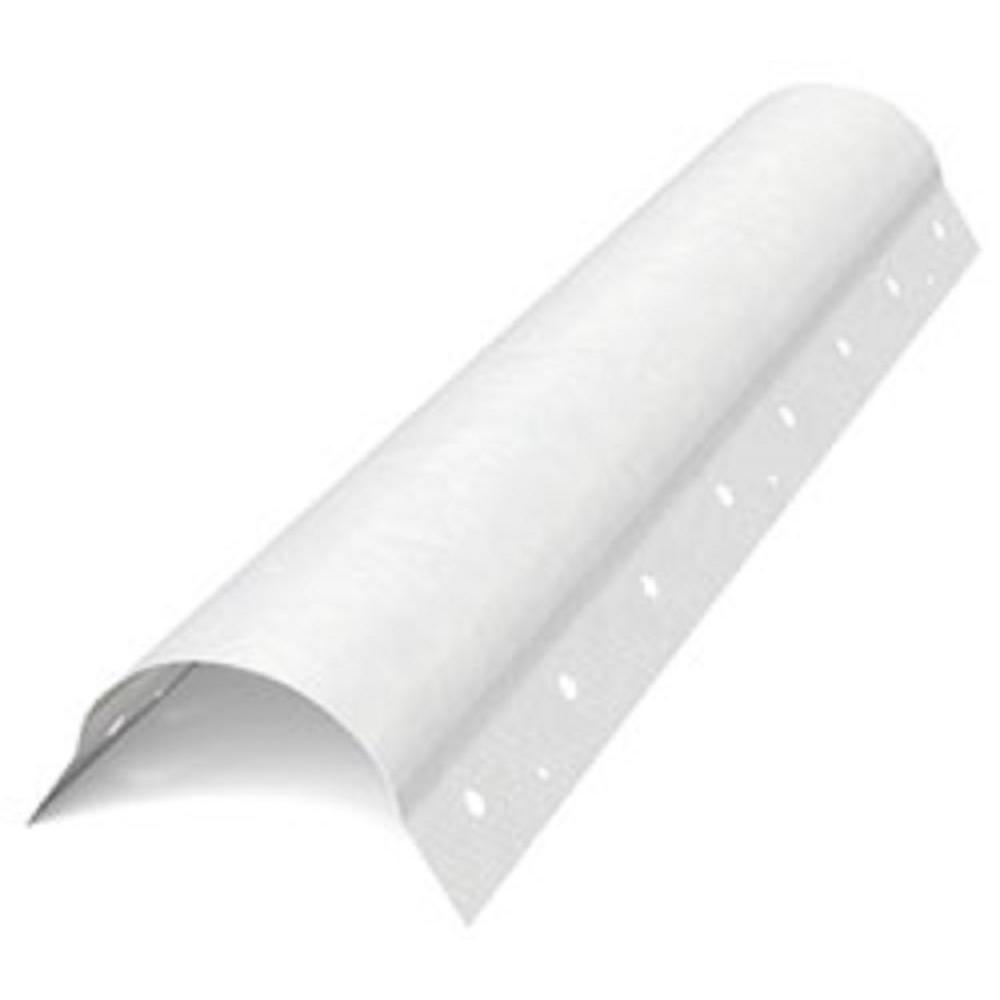
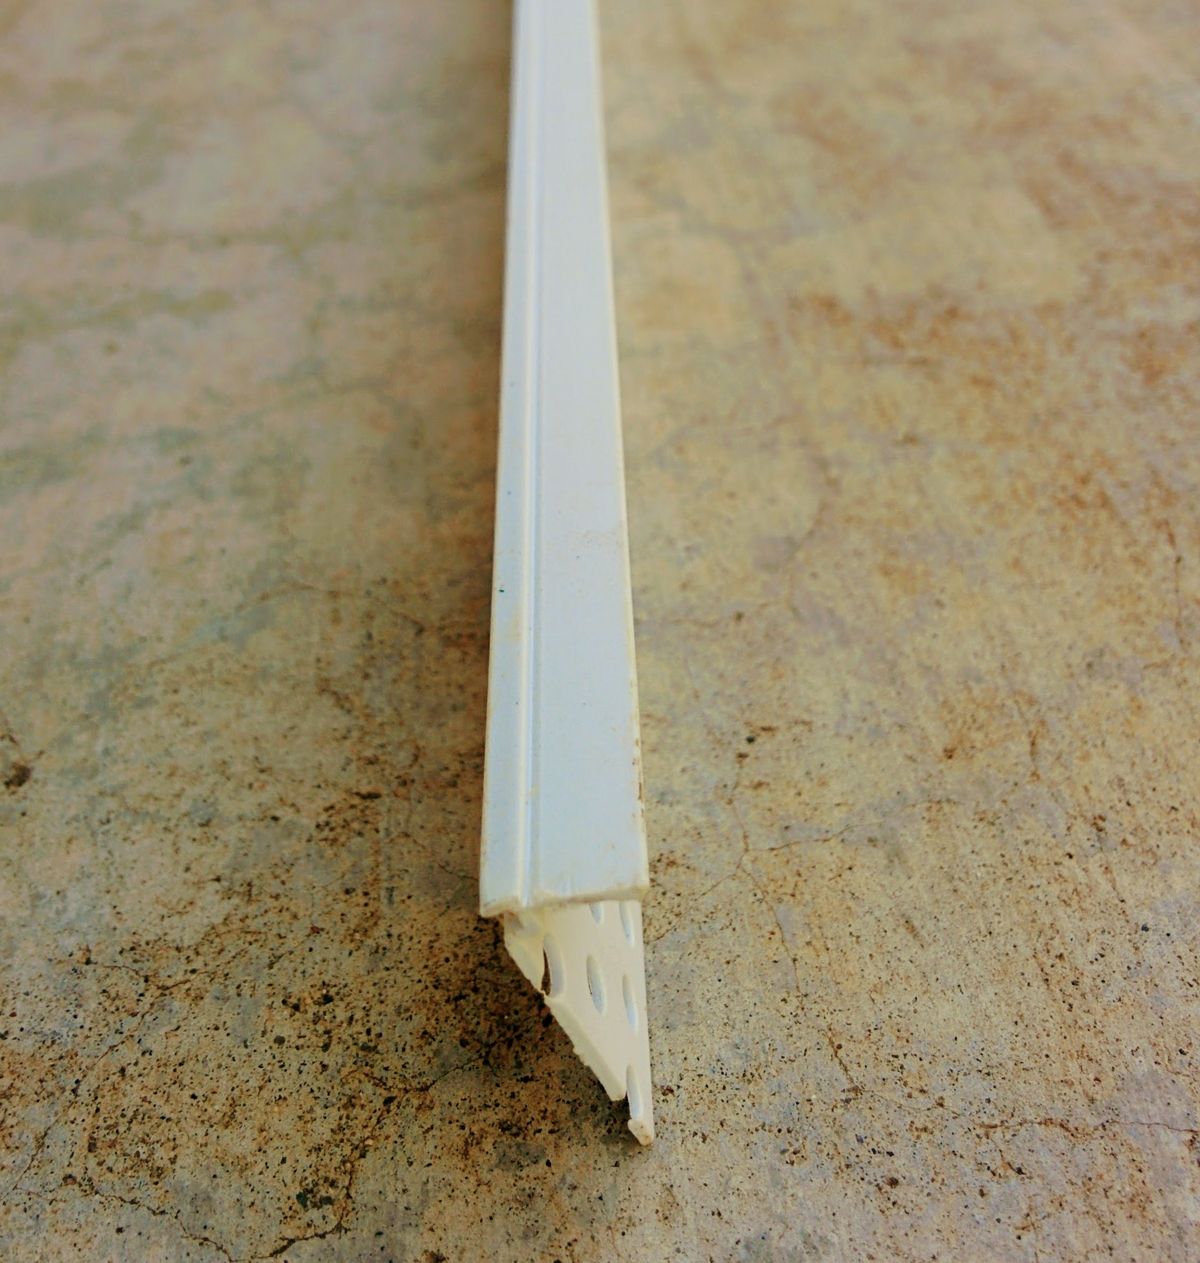
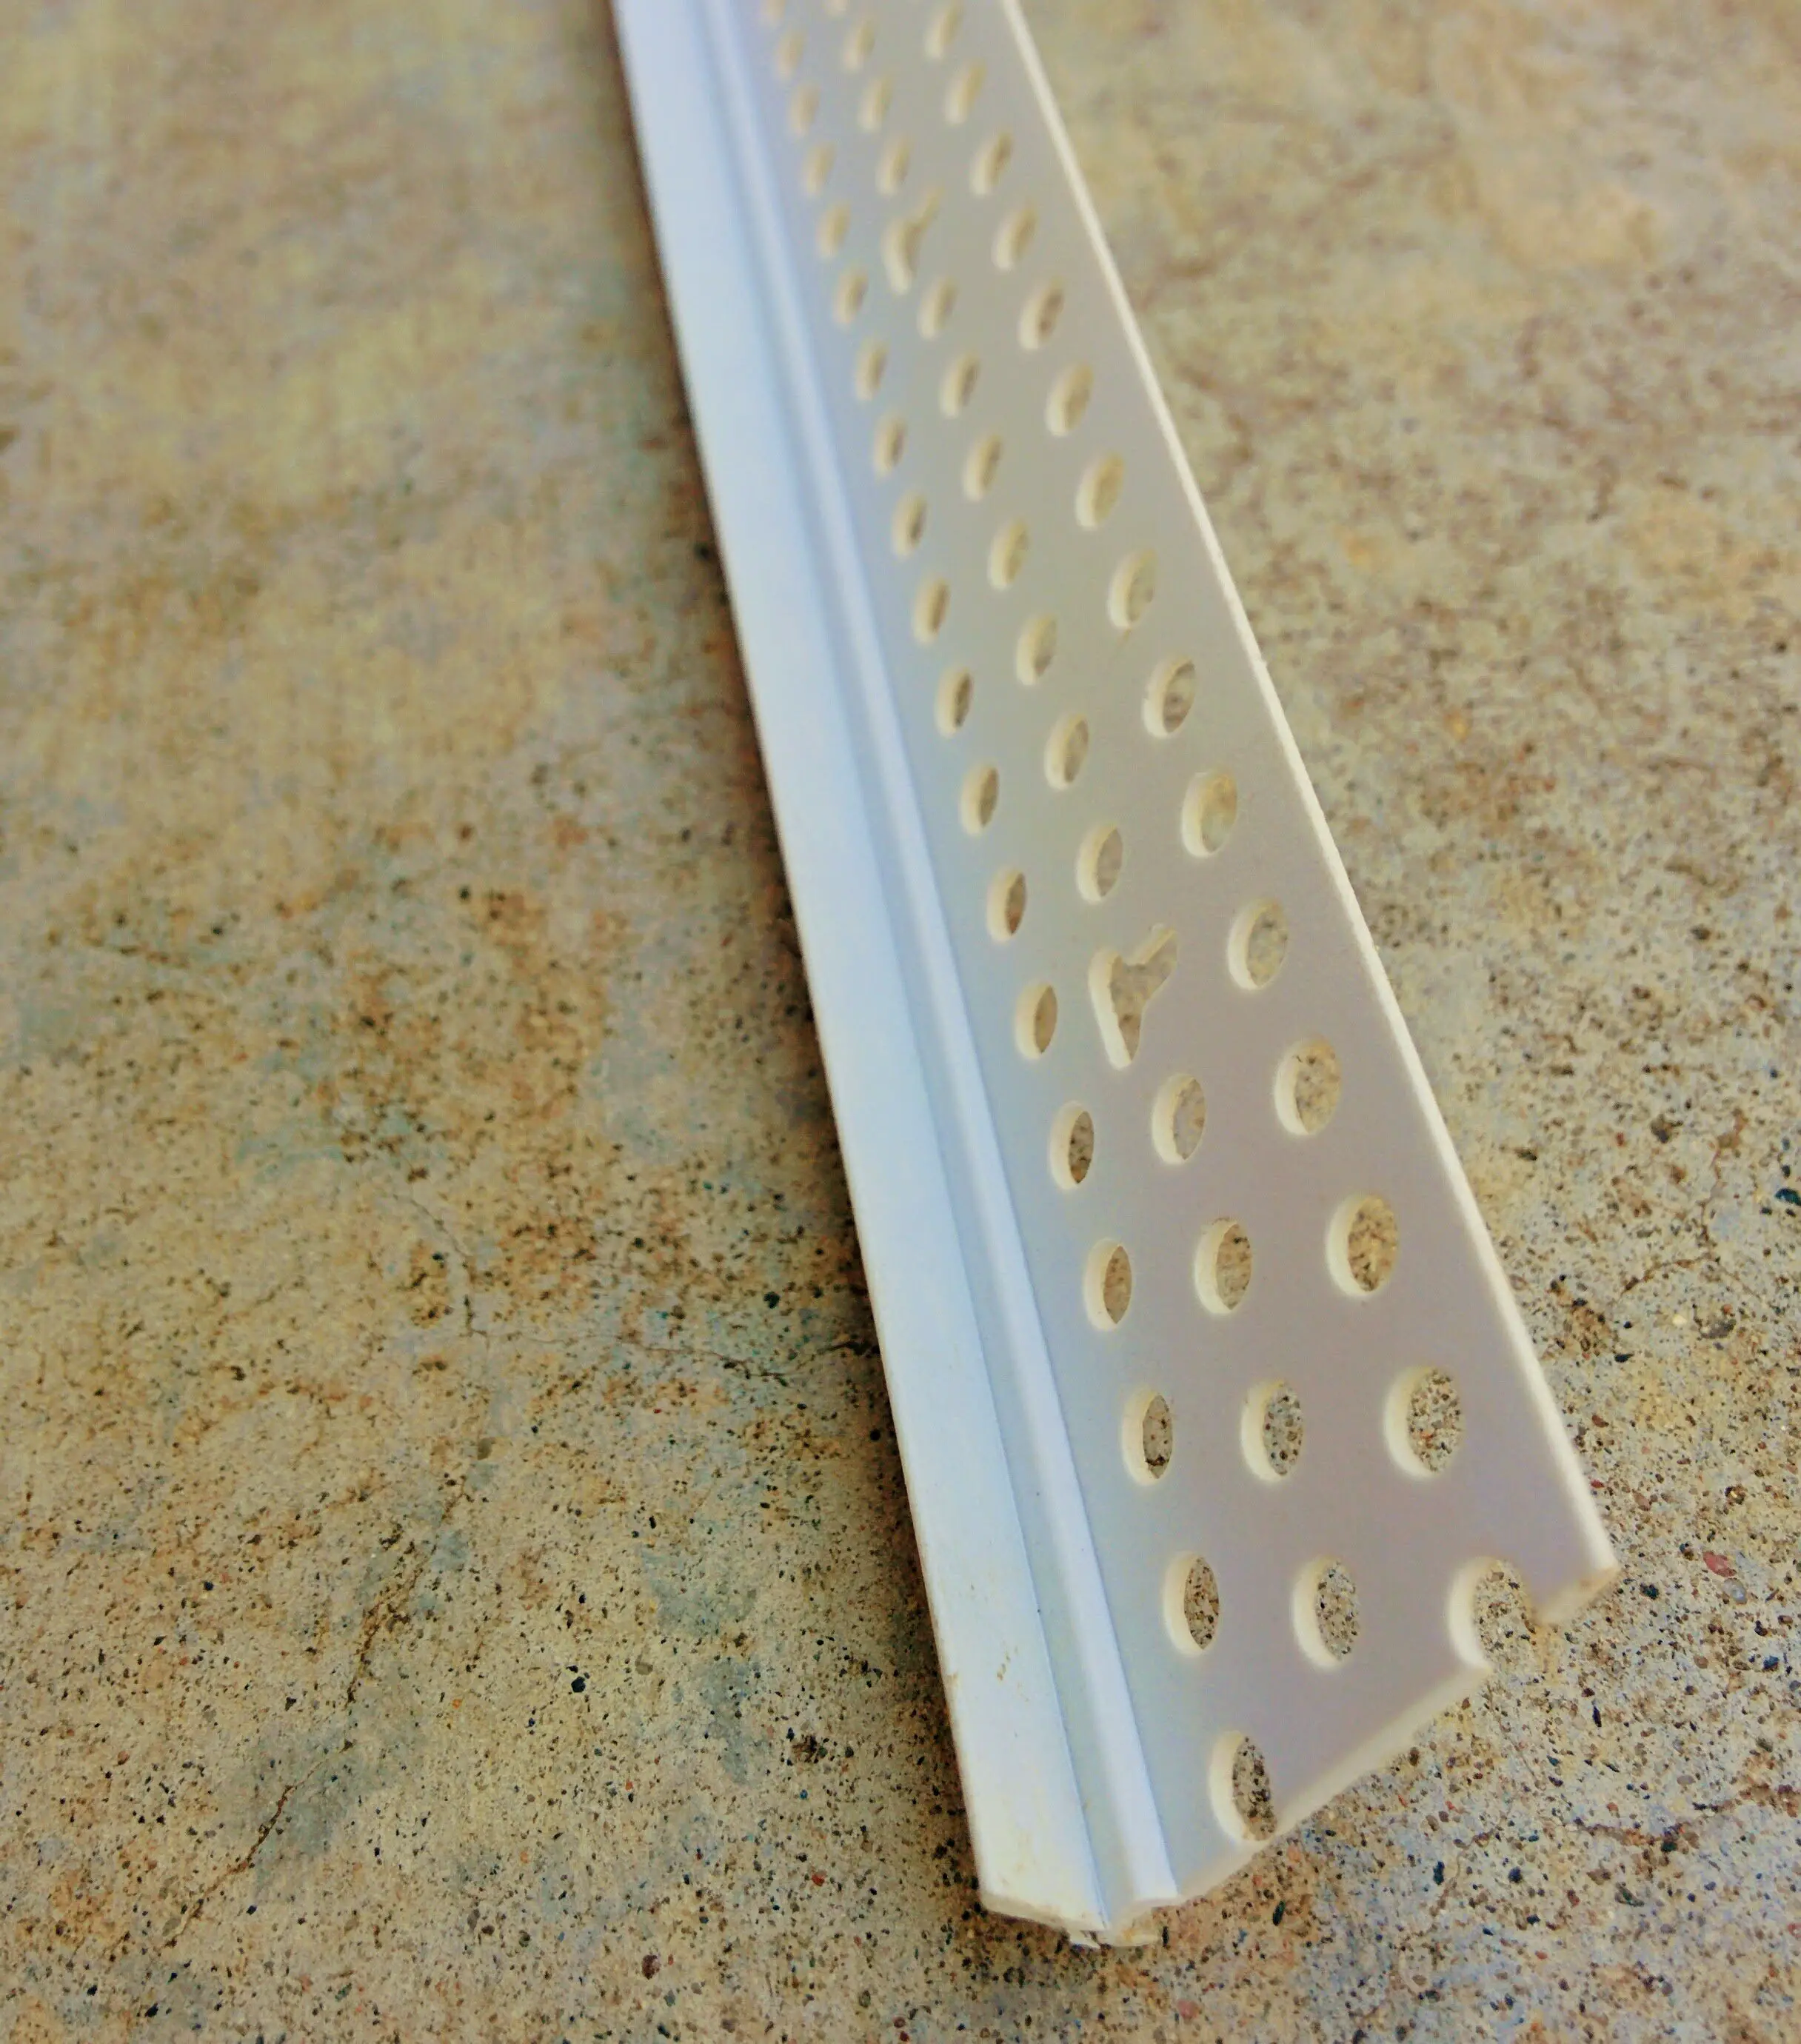
Before diving into the installation process, it’s essential to familiarize yourself with the various types of corner beads available on the market. Each type offers unique advantages depending on the specific needs of your project. Metal corner beads, typically made from galvanized steel or aluminum, are the most common choice due to their durability and resistance to moisture. They’re ideal for high-traffic areas and environments prone to humidity.
Plastic corner beads are another popular option, known for their flexibility and ease of installation. These are often used in areas where aesthetics take precedence over durability, such as bedrooms or living rooms. Paper corner beads, while less durable, provide a cost-effective solution for lightweight applications. However, they require careful handling to avoid damage during installation.
For environmentally conscious builders, recycled or eco-friendly corner beads are becoming increasingly available. These products not only reduce waste but also align with sustainable building practices. Regardless of the material you choose, ensure it matches the requirements of your project and complements the surrounding decor. Understanding the differences between these options will help you make an informed decision and achieve the best results.
Read also:Exploring The Inspiring Journey Of The Wife Penny Hardaway Family A Closer Look
How Do You Choose the Right Corner Bead for Your Project?
Selecting the right corner bead depends on several factors, including the location of the room, the level of traffic it receives, and the desired aesthetic. For instance, metal corner beads are ideal for kitchens and bathrooms, where moisture resistance is crucial. On the other hand, plastic corner beads work well in living spaces where visual appeal is paramount.
Consider the thickness of your drywall when choosing a corner bead. Standard drywall thicknesses range from 1/2 inch to 5/8 inch, and selecting a corner bead that matches this dimension ensures a seamless finish. Additionally, think about the type of finish you want to achieve. Some corner beads come pre-primed, making them easier to paint and blend with surrounding surfaces.
Lastly, take into account the budget constraints of your project. While higher-end materials like metal corner beads may be more expensive upfront, they often prove more cost-effective in the long run due to their longevity and reduced maintenance needs. Balancing these considerations will guide you toward the perfect corner bead for your unique situation.
What Are the Tools Required for Installing Corner Bead on Drywall?
Having the right tools on hand is critical for successful corner bead installation. Start with a utility knife or drywall saw for cutting the corner beads to size. A pair of tin snips or scissors works well for metal and plastic corner beads, respectively. To secure the beads to the drywall, you’ll need a staple gun or drywall screws, along with a drywall hammer or drill.
A tape measure and level are essential for ensuring accurate placement and alignment of the corner beads. These tools help prevent crooked or uneven lines, which can compromise the final appearance of your walls. For applying joint compound, gather a mud pan, taping knives of varying sizes, and a hawk if working with larger quantities.
Don’t forget protective gear, such as gloves, safety glasses, and a dust mask, to safeguard against potential hazards during installation. With this comprehensive toolkit, you’ll be equipped to handle every aspect of the job efficiently and effectively.
Step-by-Step Guide to Installing Corner Bead on Drywall
Now that you understand the importance of corner beads and have gathered the necessary materials, let’s explore the step-by-step process for installing corner bead on drywall. Begin by measuring the length of the wall corner you’ll be working on and cut the corner bead to size using your chosen cutting tool. Leave a small amount of excess material to account for any adjustments during installation.
Position the corner bead at the top of the wall, ensuring it aligns perfectly with the corner. Use a level to confirm its straightness and make any necessary adjustments. Secure the bead in place using staples or screws, spacing them evenly along the length of the bead. Be careful not to over-tighten, as this can deform the drywall or damage the bead.
Once the corner bead is securely fastened, apply joint compound along both sides of the bead using a taping knife. Start with a thin layer, feathering it outwards to create a smooth transition. Allow the compound to dry according to the manufacturer’s instructions before applying additional layers as needed. Sand the surface lightly between coats for a flawless finish.
What Are Some Common Mistakes to Avoid When Installing Corner Bead on Drywall?
Even experienced builders can fall prey to common mistakes when installing corner bead on drywall. One frequent error is failing to properly measure and cut the corner bead, leading to gaps or overlaps that compromise the wall’s appearance. To avoid this, double-check your measurements and make precise cuts before proceeding.
Another pitfall is neglecting to use a level during installation, resulting in crooked or uneven lines. This issue is easily preventable by consistently checking the alignment of the corner bead throughout the process. Additionally, overloading the corner bead with joint compound can cause it to sag or warp, so apply the material in thin, even layers.
Finally, rushing through the drying and sanding stages can leave your walls looking unfinished. Patience is key when working with joint compound, so allow ample time for each coat to cure before moving on to the next step. By avoiding these common mistakes, you’ll achieve professional-quality results every time.
What Are Some Advanced Techniques for Achieving Perfect Corners?
For those seeking to take their corner bead installation skills to the next level, several advanced techniques can help achieve flawless results. One such method involves using a corner bead applicator tool, which simplifies the application of joint compound and ensures consistent coverage. These tools come in various designs, from handheld models to larger, more robust versions suitable for commercial projects.
Another technique is to apply a layer of fiberglass mesh tape along the corner bead before adding joint compound. This reinforces the bond between the bead and the drywall, reducing the risk of cracks or separation over time. When working with curved or irregular corners, consider using flexible corner beads designed to conform to non-standard angles.
Finally, experiment with different types of joint compound, such as lightweight or fast-drying varieties, to optimize your workflow and achieve superior results. Combining these advanced techniques with standard practices will elevate your corner bead installations to new heights.
Tips for Troubleshooting Common Issues During Installation
No matter how meticulous you are, challenges can arise during the corner bead installation process. One common issue is the corner bead pulling away from the drywall, often due to insufficient fastening or improper alignment. To fix this, remove the loose section, reposition the bead, and secure it with additional staples or screws.
Another problem is cracking or peeling joint compound, which may result from inadequate drying time or excessive thickness. In these cases, sand down the affected area and apply fresh compound in thin layers, allowing each coat to dry completely before proceeding. If the corner bead becomes dented or damaged during installation, assess the extent of the damage and decide whether repair or replacement is necessary.
For stubborn issues, consult online resources or seek advice from experienced professionals. Many construction forums and YouTube channels offer valuable insights and solutions for overcoming installation challenges. With persistence and problem-solving skills, you can overcome any obstacle and complete your project successfully.
FAQs About Installing Corner Bead on Drywall
1. Can I Use Regular Tape Instead of Corner Bead?
No, regular tape is not suitable for reinforcing wall corners. Unlike corner beads, tape lacks the structural strength required to protect edges from damage. While it may work temporarily, it will likely fail under normal wear and tear, leading to costly repairs down the line.
2. How Long Should I Wait Between Coats of Joint Compound?
The drying time between coats of joint compound varies depending on environmental conditions and the type of compound used. As a general rule, allow 24 hours for each coat to dry thoroughly. Refer to the product packaging for specific recommendations and adjust accordingly based on temperature and humidity levels.
3. Is It Necessary to Prime the Corner Beads Before Painting?
Priming corner beads before painting is highly recommended, especially for metal or plastic beads. Primer helps seal the surface, preventing rust or discoloration and promoting better adhesion of paint. Skipping this step can result in uneven coverage and reduced durability of the paint finish.
Conclusion: Embrace the Art of Installing Corner Bead on Drywall
Installing corner bead on drywall is a skill that every builder, whether amateur or professional, should master. By understanding its importance, selecting the right materials, and following proper techniques, you can achieve walls that are both durable and visually appealing. Remember to approach each project with care and attention to detail, addressing any issues promptly and efficiently.
With the knowledge and tools provided in this guide, you’re well-equipped to tackle corner bead installation with confidence. Embrace the process, learn from your experiences, and continually refine your skills. Before long, you’ll be producing walls that not only meet but exceed industry standards, bringing beauty and functionality to every space you create.
Table of Contents
Why Is Installing Corner Bead on Drywall Important?
What Are the Different Types of Corner Beads Available?
How Do You Choose the Right Corner Bead for Your Project?
What Are the Tools Required for Installing Corner Bead on Drywall?
Step-by-Step Guide to Installing Corner Bead on Drywall
What Are Some Common Mistakes to Avoid When Installing Corner Bead on Drywall?
What Are Some Advanced Techniques for Achieving Perfect Corners?
Tips for Troubleshooting Common Issues During Installation
Meta Description
Learn the art of installing corner bead on drywall with this comprehensive guide. Discover expert tips, step-by-step instructions, and FAQs to ensure professional-quality results. Optimize your skills today!